Sewing the Flower Garden Crossbody Bag by Minki Kim
When Your Favorite Bag Breaks… Make a New One!
The strap on my favorite crossbody bag broke, so I had to decide how I was going to replace it. And really, what better excuse could there be to make myself a new bag?
It’s not like I don’t have plenty of patterns to choose from!
One of my favorite bag pattern designers is Minki Kim. I have made several of her patterns over the years and find them easy to follow. She also has YouTube videos that walk you through the assembly process, which I always appreciate—especially when I get to a step where seeing it done makes more sense than simply reading the instructions.
For my new everyday bag, I chose Minki’s Flower Garden Crossbody Bag. The finished bag measures approximately 8½” x 6½” x 2″, which is very close to the size of the crossbody bag I had been carrying.
Choosing the Fabric
For the fabric, I chose Minki’s Sunsetridge collection.
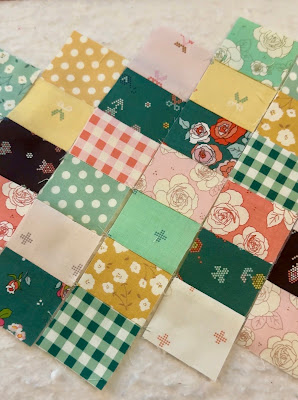
The pattern shows a patchwork design on one side of the bag and a single-fabric design on the other. I loved the patchwork look, so I used fabrics from almost the entire collection to create that side of my bag. For the opposite side, I used the Granite Main print.
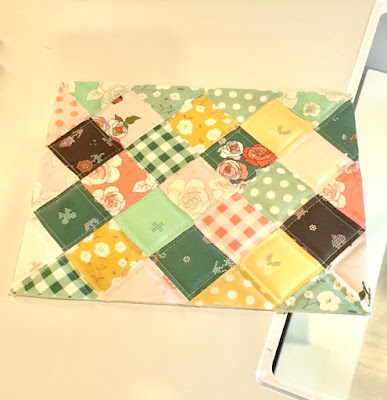
Here is the layout I chose for my patchwork side:
Piecing the Patchwork
The patchwork side is made by piecing the individual blocks into rows and then sewing the rows together.
Whenever I’m piecing something like this, I prefer to nest my seams. By pressing adjoining seams in opposite directions, the seams fit together more neatly when the rows are joined. I find that this helps my intersections line up better and also keeps the finished piece from becoming unnecessarily bulky.
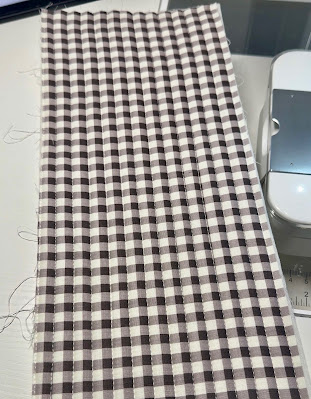
You can see how I nested the seams here:
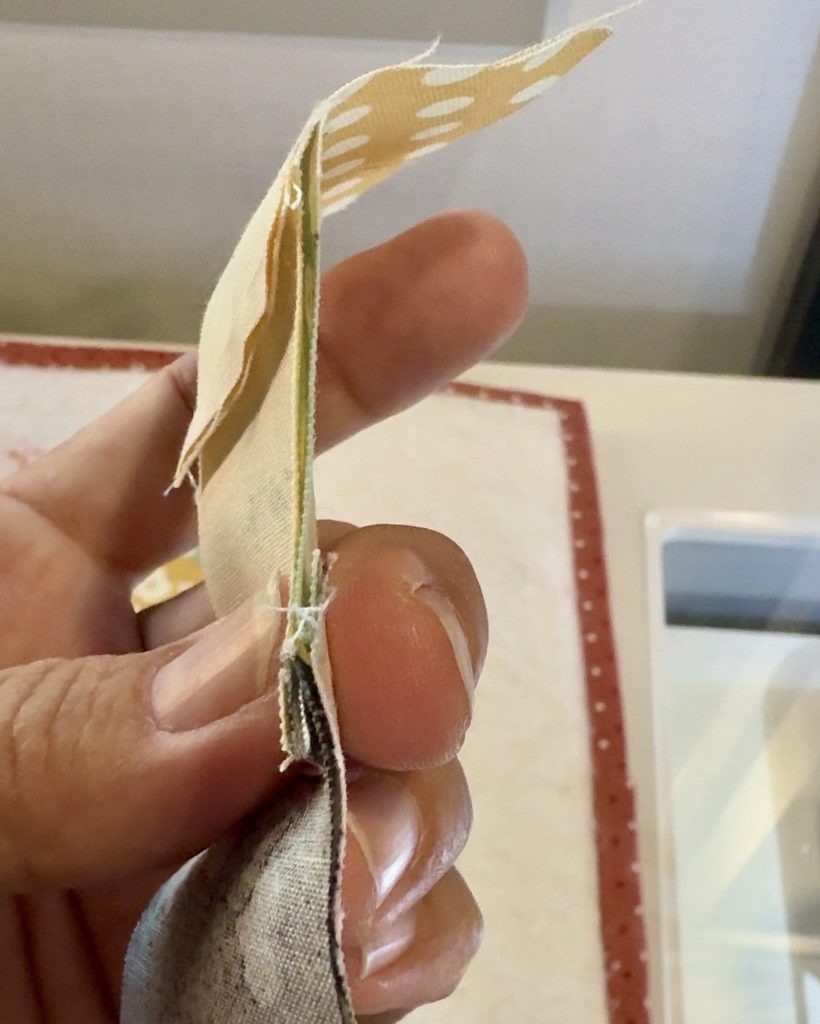
Once the patchwork was complete, I quilted the piece and then trimmed it to the size specified in the pattern.
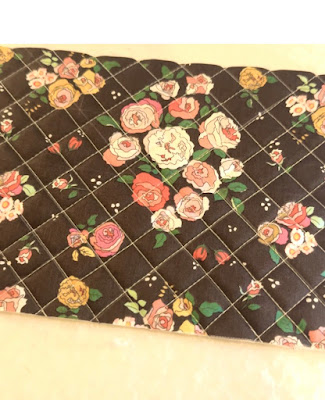
The solid back piece is also quilted before being trimmed to its final size. I’m intentionally not including those measurements here since they are part of the purchased pattern.
Adding the Zipper Pocket
The back of the bag includes a zippered pocket. This was the first time—at least that I can remember—that I had inserted a zipper using this particular method.
I’ll admit that I was a little unsure about it when I started, but it turned out to be much easier than I expected. I used my own measurements to position the zipper rather than using the template included with the pattern, and I was very happy with how it turned out.
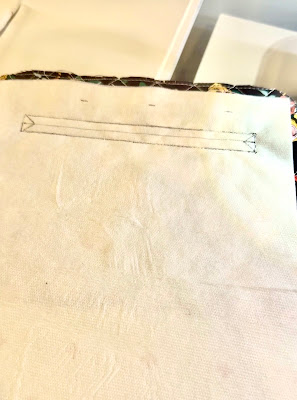
The zipper and bottom sections of the bag are also quilted before being cut into their individual pieces.
Again, all of the measurements and cutting instructions for these pieces are included in the Flower Garden Crossbody Bag pattern.
And Then Mr. Jack Came Out…
Of course, no sewing project would be complete without at least one little mishap.
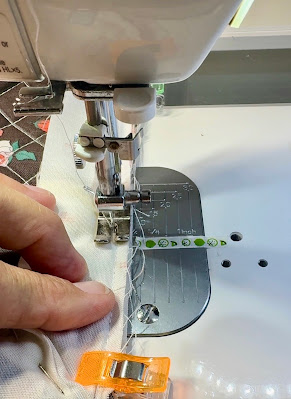
When I attached the binding, I managed to sew it to the wrong side of both the front and back pieces.
Oops.
That meant Mr. Jack—my trusty seam ripper—and I had to spend a little quality time together.
It definitely wasn’t my favorite part of the project, but sometimes ripping out stitches is just part of sewing. Once everything was removed, I was able to attach the binding correctly and move on.
Finishing the Bag
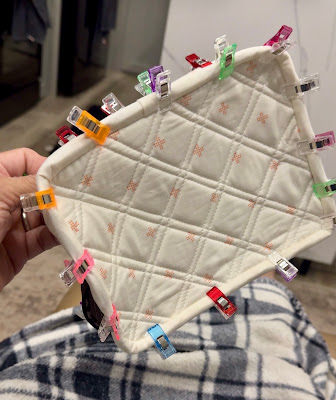
After the bag was completely assembled, the final step was finishing the binding by hand.
I used plenty of binding clips to hold everything in place and settled in to do the hand stitching while watching a football game. There are definitely worse ways to spend an evening!
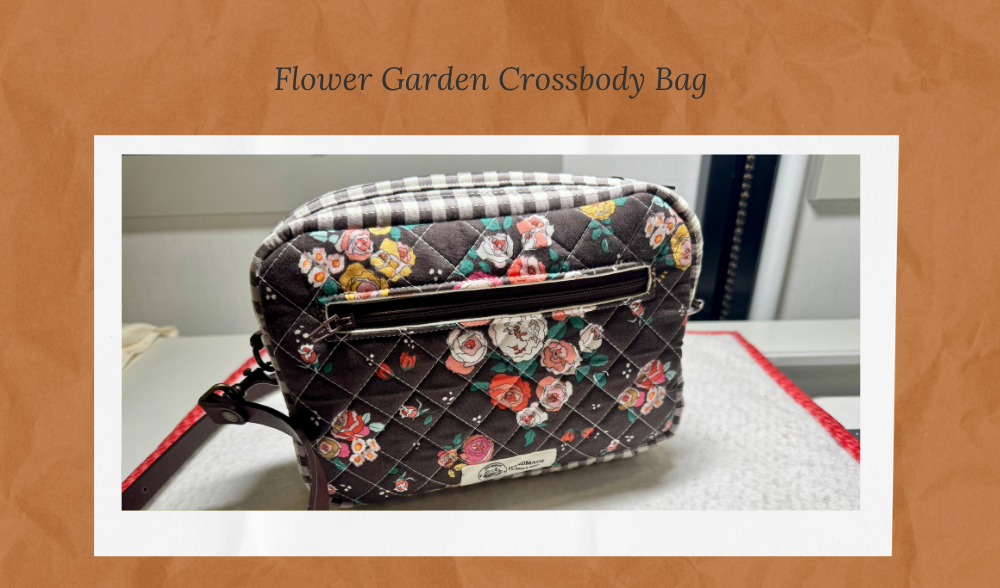
The Finished Flower Garden Crossbody
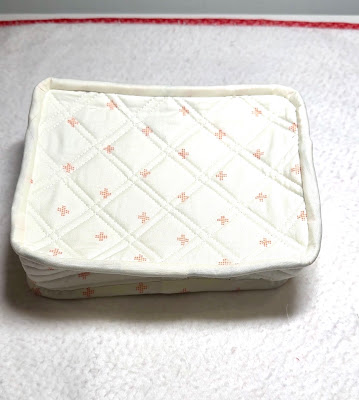
Despite having to redo part of the binding, I am very pleased with how my new crossbody bag turned out.
I added a little mushroom charm to the zipper pocket, which not only adds a cute finishing touch but also makes the zipper easier to grab and open.
Of course, I had to add a couple of labels, too. I added one of my Sew Serenity Cottage labels to the back of the bag and one of Minki’s labels to the inside lining.
Those little details always make a handmade project feel finished.
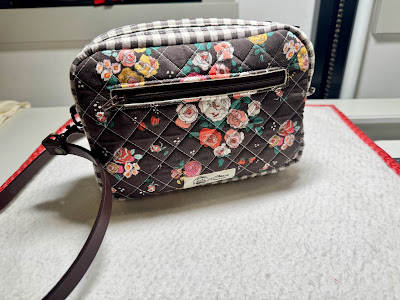
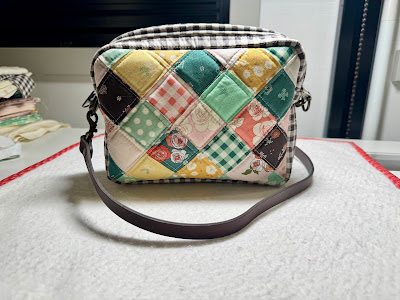
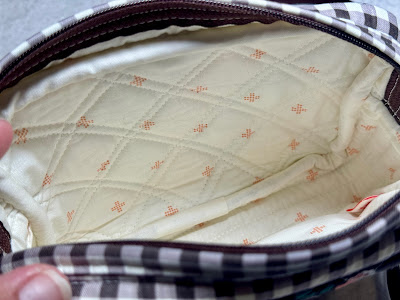
What started with a broken strap on my favorite crossbody bag turned into the perfect excuse to make something new. Now I have a handmade bag that is just the right size for everyday use—and one that feels a little more special because I made it myself.
And hopefully this strap lasts a little longer than the last one!
Until next time,
Anna
Sew Serenity Cottage
Where every stitch tells a story.